My Blog Setup - Re-Evaluate Blog Setup

If you have read my post about my blog framework consideration, then you may know that I chose:
- Hugo: for my blog framework, one of popular Static Site Generator frameworks out there.
- Gitlab Page: for hosting my static content.
- Gitlab CI: for automate my blog deployment to Gitlab Page.
My quote from that post:
Choosing Hugo as my blog content engine comes to 1 consequence: only Gitlab Page support Hugo with Gitlab CI to automate the process of publishing the website. On the other hand, GitHub Page only supports Jekkyl.
Actually I can use both, but I have to spend more effort on the CICD thing when using GitHub and no seamless experience on that yet. Gitlab basically offer the simplicity by providing Hugo Blog Template and Hugo CICD template, that's a win for me 💛 (at least in the beginning)
Yup, I have to say using Gitlab Page and Gitlab CI is really simple and very straightforward for a beginner like me. It helped me to focus on learning Hugo system for a while at beginning, at least for the first 2 hours since I had started to bootstrap my blog then.
In that first 2 hours, I also tried figuring out how my ideal blog writing and blog tuning workflow could be. Note that this workflow is thought by assuming that the blog author is only myself.
This was what I had thought due to my blog system setup at that moment: for each 1 single task (such as: add new content, fixing comment integration section, etc):
- Create a new branch from
master - Make a change
- Hit
hugo servein local to check how it looks - Fix it and try again, go to point 3 until satisfied, then
- Merge it with master
- Push it to origin Gitlab, then Gitlab CI will take care of it
But then I realized the existing workflow using that system, has some downsides:
-
Can't live preview online on a certain branch. This is a major downside for me. The gaps that it can be filled:
- Final test before going live to production blog. It is necessary and very practical, since testing my blog locally doesn't catch all integration aspects. Example: Disqus comment section and social sharing feature aren't working well in local mode. Even there are bug occurrences in my content that doesn't get caught at local-test but somehow broken when going live. This is mostly due to me messing up with hyperlink and base URL path stuff.
- Very convenient for sharing with friends for proofreading.
-
The workflow above makes me rely on my laptop to do blogging. This is actually not a major complaint, but nice to have solution for this.
- Very often, when I was away quite a long time (e.g: travel, stroll around), I draft my new blog post on my mobile phone. To post through via mobile phone is almost impossible. Actually you can: by using Gitlab online editor. But that's not really good interface. Besides, uploading the image and refer it to content post is harder in mobile (believe me, I've tried it, it made me irritated). The workflow requires me to have access on my terminal: to use git command, hit hugo serve to check locally.
So the next 1 hour, I had been frantically trying to search for "easy and simple" solution to address those weak points and finally found it :smirk:
Online Site Preview from PR Branch
Gitlab Page and Github Page able to show the content from 1 specific branch only (default is master branch). This is their weakness at this moment.
Fortunately, I found there is Netlify. What is it? Quoted from their website:
Build, deploy, and manage modern web projects
An all-in-one workflow that combines global deployment, continuous integration, and automatic HTTPS. And that’s just the beginning.
I thought this could be my solution. Reading more about Netlify:
- It offers seamless integration with GitHub/Gitlab/and other major git hosting provider. So I can still keep using Git as my blog storage
- Out of the box supports for most Static Generator Framework, Hugo is one of them. It automatically configures the CICD step for Hugo.
- It has Deploy Preview feature which I can set to be triggered whenever there is a new commit on active PR branch. Yup, this point is what I was looking for.
- It also has a nice notification feature, such as whenever the blog deployment is finished, it notifies me via email.
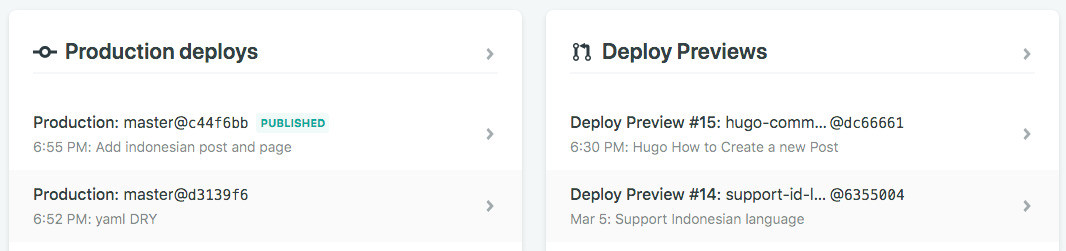
The Deploy Preview is a great feature, I can preview my PR branch online and test it. This is accessible through random URL generated by them (e.g: https://xxxxxxx-
I succeed migrating my blog from Gitlab Page to Netlify without breaking too much sweat, thanks to Netlify great integration with most Git hosting provider + Hugo. I even invested my money to rent my own agung.io domain through Netlify. Actually, they offered quite a nice discount for my own domain + free HTTPS/SSL certificate for my website. Thanks, Netlify!
CMS for Admin
CMS or Content Management System is the answer to negate the second weakness point: to reduce my dependence on a laptop. Normally with CMS, you want some basic features offered: able to draft new content, upload image, and preview it. Having a WYSIWYG editor is a plus point. All those tasks should be accomplished through the web interface at least since smartphone mobile browser is quite powerful nowadays.
There is only 1 free and open source solution (that I know of) that offers CMS feature on top of Hugo, it's Netlify CMS. Yup, turns out Netlify has open source CMS and it has great Hugo integration as well. I guess it was a good decision to choose Hugo. And now I am starting to see why I also love Netlify ❤️.
CMS User Management
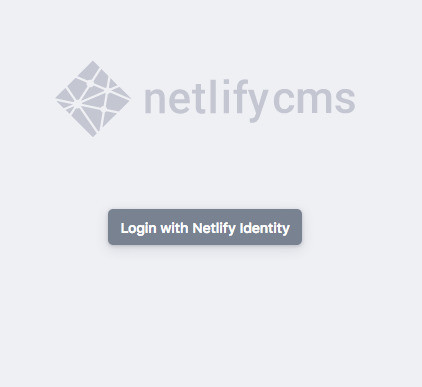
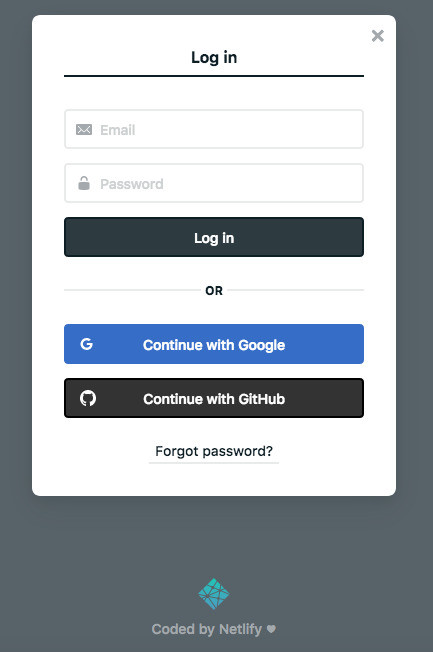
I had successfully set it up and my blog's CMS Admin interface is protected using Netlify Identity feature.
CMS x Git Hosting
In order for Netlify CMS fully working, I had to configure my Netlify hosting (where my blog and CMS Admin are running) to use Git Gateway so the CMS can read and write my blog's repository in Gitlab.
CMS Editorial Workflow
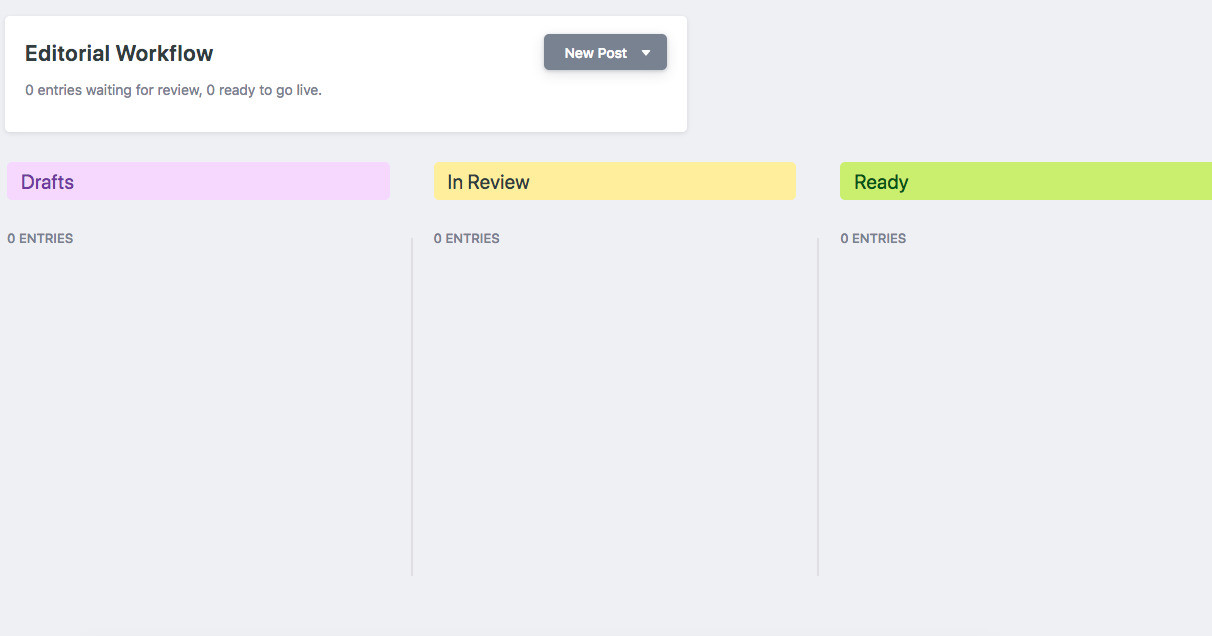
Now, there is called Editorial Workflow in Netlify CMS Admin, which a web workflow so that editor can add/edit a post and set the status to: Draft, In Review, and Ready before publishing it. Under the hood, whenever creating a draft (edit post, create a new post), it creates a new branch from master and open pull request. Also, to set the draft status, it uses low-level git metadata.
Here's the thing: Editorial Workflow is only supported by GitHub at this moment 😓. But that's okay since I could easily migrate my blog from Gitlab to GitHub and I did it 😄.
CMS Dashboard

There is one minor point of CMS Admin dashboard though. With my iPhone 7 Plus screen, I have to change to landscape mode to show some invisible buttons (e.g: image upload button, delete image button, etc).
Summary
So, finally, after those 2-3 hours of effort, I've changed my blog from using Gitlab + Gitlab Page + Gitlab CI to GitHub + Netlify (Hosting + CICD). My blog writing workflow now is improved to my wants, and so far I've been using it for 2 weeks and it has been a pleasure blog writing experience for me. The workflow then is like below:
- Create a new branch from
master - Make a change
- Hit
hugo servein local to check how it looks - Fix it and try again, go to point 3 until satisfied, then:
- If the changes are complex: push to remote GitHub and open Pull Request and see Netlify's Deploy Preview; commit; push; until satisfied.
- Merge with
masterbranch and Netlify will take care production blog deployment.
If you have some facts and opinion about Netlify, please feel free to comment below.
Thanks for reading my post!
References:
Member discussion